Afternoon everyone! I am sharing a tutorial I did forSimple Girl Scraps Ct on how to weave together elements (specifically ribbon) to create the layered look that we often see in clusters and on pages. I am showing this to you in PSE9 - enjoy!
1) Select two ribbons, one spiraled and one straight, and bring them onto your workspace. Here I am using the "Simply Me" kit by Simple Girl Scraps.
1) Select two ribbons, one spiraled and one straight, and bring them onto your workspace. Here I am using the "Simply Me" kit by Simple Girl Scraps.
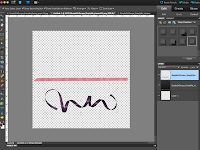
2) Drag the ribbons over each other as shown. I usually put the curly ribbon on the top (but it really doesn't matter in the end)
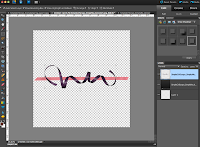
3) Change the opacity of the top curly ribbon to make it easy to see the bottom ribbon.
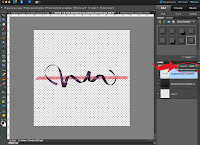
After with opacity at 60%:
4) Zoom into the project so you can clearly see the area you are working on (Control and +)

5) Using the eraser tool, erase the parts of the curly ribbon you want to appear behind.
NOTE: look at your ribbon and whether it is shadowed or not.. decide how you want the end result to look. Meaning if you start to erase a top curl, do not then turn and erase a bottom curl that will leave it conflicted on the page. Because of this I use the bottom curls to appear to be under the straight ribbon.
Be sure to select the proper eraser style / size. I used the square brush because my back ground ribbon is flat and straight. Sometimes the round brush is easier. Make small erases at a time because if you go too far over the lines of the other ribbon you can always undo (control+z) without having to go too far backwards with big strokes.
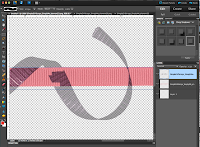
6) Be sure to zoom in nice and big so you can get close to the edges without it going over and visa versa. In the picture above the top is great the bottom I will control +z to get a better line without the background showing through.
7) Once you are done go ahead and zoom out (control and -) and then change the opacity back to 100%
7) Once you are done go ahead and zoom out (control and -) and then change the opacity back to 100%
VOILA!!!

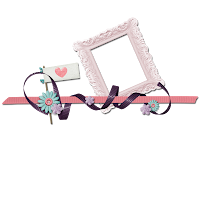
8) Add flowers, or another ribbon, stars, any embellishments you would like to complete the look!!
This tutorial is also good for things like:
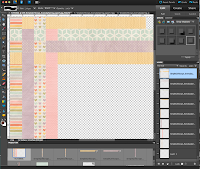
-Weaving papers (see example, but use the marquee square tool instead of eraser)
-Weaving papers (see example, but use the marquee square tool instead of eraser)
(Papers: Every Spring Collection kit by Simple Girl Scraps)

